
We’ve all been there: you spend precious time curling your hair, only to watch those beautiful waves fall flat within hours. It’s frustrating, right when your hair won’t hold a curl? Especially when you’ve invested so much effort into achieving that perfect look. But there’s a reason behind this common hair woe.
As someone who’s battled with stubbornly straight locks for months, I’ve uncovered some game-changing secrets that explains the root causes of why your curls might be falling flat. We’ll explore everything from the products you’re using to your hair’s texture and even your curling technique.
4 Secret Reasons Why Your Hair Won’t Hold a Curl
Secret 1: Drowning in Your Hair
Understanding Product Weight Impact on Curl Formation
Imagine your hair as a delicate balloon. If it’s weighed down, it simply won’t float. The same goes for your curls. Using heavy shampoos, conditioners, and styling products can coat your hair shaft, making it difficult for curls to form and hold. This lack of texture and grip results in limp curls that fall flat shortly after styling.
It’s a common mistake, but one that’s easily rectified with the right product choices.
Choosing the Right Products
1. For Fine Hair:
If you have fine hair, you need products that add volume without weighing you down. My go-to is Moroccan Oil’s Extra Volume Shampoo and Conditioner. These products are designed to cleanse without adding excess weight.
Look for ingredients like hydrolyzed wheat protein or polyquaternium in your volume-boosting products. These little miracle workers rough up the hair cuticle just enough to give your curls something to hold onto.
2. For Medium to Coarse Hair:
For those with medium to coarse hair, a flexible shampoo and conditioner like L’Oreal ProLonger can work. These products hydrate without over-smoothing, which can lead to limp curls. They maintain moisture balance while allowing for the necessary texture to hold curls. Ingredients like glycerin and aloe vera provide hydration without heaviness.
Bonus Tip: Here’s a little secret I’ve learned over the years: sometimes, less is more. If you find that conditioner is weighing your hair down, try skipping it on curl days. Instead, use a lightweight leave-in conditioner to keep your hair hydrated without the heaviness.
But if you can’t bear the thought of ditching conditioner completely (I get it, frizz is real), try using a deep conditioning treatment on non-curling days. This way, you’re still giving your hair the TLC it needs without compromising your curl game.
Secret 2: Dry Spell
Okay, let’s talk about a major curl killer for those whose hair won’t hold a curl: moisture. I know, I know – we’re always told that hydrated hair is healthy hair. But when it comes to curling, too much moisture can be your worst enemy.
Ever notice how your hair holds curls better on the second day? That’s because the natural oils in your hair provide just the right amount of grip and texture. But let’s be real – sometimes we want those fresh, bouncy curls on wash day.
Here’s the problem: curling wet or damp hair is like trying to curl your hair in a steam room. The moisture relaxes the curl as it forms, leaving you with a sad, limp mess.
Blow Drying Techniques
So, how do we combat this moisture menace? It’s all about the blow dry. Here’s my technique:
- Divide your hair into 2-3 sections. I like to use those cute little claw clips to keep everything organized.
- Start from the bottom layers and work your way up. This ensures that every strand gets the heat it needs.
- The touch test: Run your fingers through your hair. If it feels cool or damp, keep drying. You want your hair to feel warm and completely dry to the touch.
Here’s a little trick I learned from my stylist: twist a small section of hair. If it feels cool or unravels easily, it’s still damp. Keep drying until that twist holds its shape.
Bonus Tip: Living in a humid climate? Try wearing a shower cap when you’re curling your hair to protect it from sneaky steam and moisture. And don’t forget to use an anti-humidity spray or serum before curling. It’s like creating a little force field around your curls to keep them bouncy and beautiful all day long.
Secret 3: Rough Waters
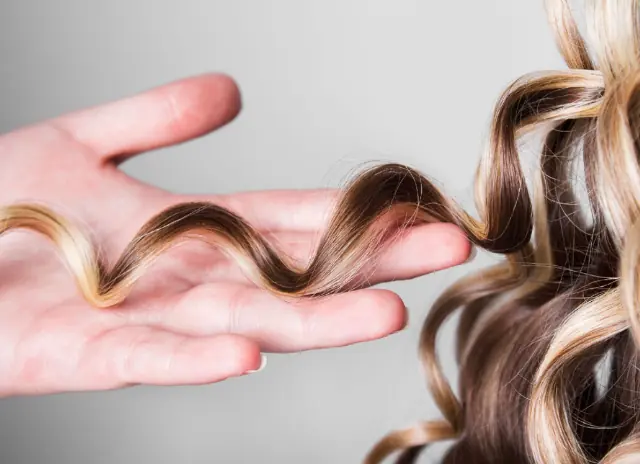
Smooth, slippery hair might feel luxurious, but it lacks the grip required for curls to stay in place. Think of it as needing a textured surface to scrub a dirty dish effectively. Imagine trying to grip a smooth ball; it will slip through your fingers. Similarly, curls need a textured surface to latch onto. Texture helps create friction, allowing the hair to hold its shape.
Recommended Products
This is where texture sprays become your friend. My productslike Living Proof Dry Volume or Moroccan Oil’s Strong Spray. These sprays add just the right amount of grit to your hair, creating the perfect foundation that helps curls latch on.
They contain ingredients that create a slight tackiness, allowing curls to hold better without feeling sticky such as with rice starch or silica for added volume.
A good hairspray, such as Living Proof Flex Spray, can lock in curls without making them stiff or crunchy. Look for flexible hold formulas that allow for movement. Spray hairspray in a light mist from a distance to avoid over-saturating any one area. This ensures an even distribution that won’t weigh curls down.
How to Use Texture and Hairspray
Here’s my way of using these products:
- Lightly mist texture spray onto sections of hair before curling. Don’t go overboard – a little goes a long way.
- Curl your hair as usual (we’ll get into technique in the next section ahead).
- Finish with a light mist of hairspray to lock everything in place.
This two-step process is like creating a sandwich of hold for your curls. The texture spray gives them something to grip onto, while the hairspray seals the deal.
Secret 4: Oversize Iron
The Importance of Curling Iron Size
When it comes to curling your hair, size really does matter—at least when we’re talking about curling irons. Using a barrel that’s too large can lead to curls that drop quickly, leaving you with waves that are more “meh” than “wow.”
Here’s the deal: tighter curls tend to hold better than loose waves. It’s like the difference between a tight bun and a loose ponytail – which one’s going to stay put longer? Exactly.This is especially true for those with fine or straight hair, where a smaller barrel can create more defined curls that will hold better.
Recommendations for Iron Sizes
For Fine Hair:
If your hair won’t hold a curl and is on the finer side, a 3/4 inch to 1 inch curling iron is your best friend. These sizes create tighter curls that can loosen into beautiful waves, providing more longevity. A smaller barrel helps create more defined curls that will hold better, giving you that bouncy, voluminous look.
For Medium to Coarse Hair:
For those with medium to coarse hair, a 1 inch to 1 1/4 inch iron is ideal. However, the 1 inch size is often the sweet spot for lasting curls, providing enough volume without being too loose. Coarse hair may benefit from a larger barrel for a more relaxed look, but remember, the tighter the initial curl, the longer it will last.
Using the Right Technique
Curling Smaller Sections: Here’s a pro tip – curl sections of hair that are about the same size as your curling iron barrel. It’s like creating a perfect little hair sandwich with your iron. This ensures even heat distribution and gives you those uniform, Insta-worthy curls.
Section Size: Aim for sections that are no wider than the barrel itself. I like to use a comb to create clean sections – it gives you that polished, salon-perfect look. Plus, it makes the whole process feel a bit more luxurious, you know?
How to Apply Your Products
Prepping Hair for Curling
First things first: heat protectant. Before you even think about picking up that curling iron, make sure your hair is prepped and ready. Always apply a heat protectant spray, such as Moroccan Oil’s Perfect Defense, before curling.
This protects hair from heat damage and helps maintain its integrity. Spray the heat protectant evenly on both the top and bottom of each section of hair. Make sure to cover all strands for maximum protection.
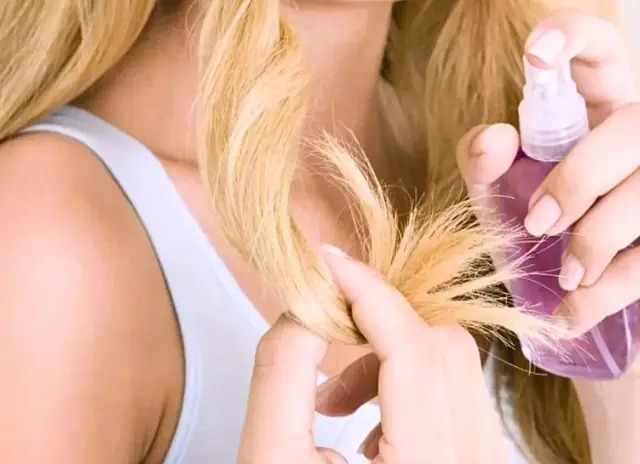
Texture Spray Application
After the heat protectant, apply a light coating of texture spray to add grip. A few spritzes per section should suffice; avoid soaking the hair to prevent it from feeling stiff. Focus on the mid-lengths and ends, where curls need the most grip.
Curling Technique
Alright, it’s showtime! Here’s your step-by-step guide to curl perfection:
- Sectioning: Start with clean, dry hair and section it into manageable parts. I like to use those cute little claw clips to keep everything organized. Just as I would carefully apply Mousses for Curly Hair
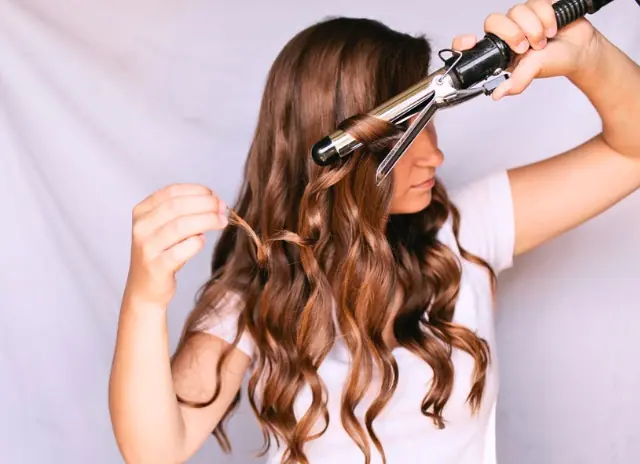
- Curling: Take a section of hair that’s the same width as your curling iron barrel. Wrap it around the barrel and hold for about 10-15 seconds. This gives the heat time to set the curl. Pro Tip: Alternate the direction of your curls (some toward your face, some away) for a more natural look. It’s all about creating that “I woke up like this” vibe.
- Releasing: Gently release the curl without pulling or tugging. Let it cool in your hand for a moment before letting it go. This little cool-down period helps the curl maintain its shape.
Setting Curls
Here’s where patience becomes your best friend. After releasing the curl from the iron, do not touch it. I know it’s tempting, but resist! Let those curls cool completely to set properly.
Think of it like baking cookies – you wouldn’t eat them straight out of the oven, right? (Okay, maybe you would, but work with me here). As curls cool, they harden into shape, making them less likely to fall out.
Bonus Tip: For extra hold, try pinning your curls to your head while they cool. It’s like giving your curls a little nap before their big debut.
Curling Dos & Don’ts
Let’s recap with some quick dos and don’ts:
Do’s
- Use Heat Protectant: Always. No exceptions. This is crucial if your hair won’t hold a curl.
- Pin Curls: For extra hold, pin curls up while they cool.
- Experiment with Techniques: Try different curling techniques (e.g., flat iron curls, wand curls) to find what works best for your hair type.
Don’ts
- Avoid Touching Curls: Do not touch or manipulate curls until they have cooled down completely to avoid loosening them.
- Don’t Use Too Large of an Iron: Stick to the recommended sizes for your hair type to ensure curls hold effectively. Larger barrels can create curls that are too loose and prone to falling.
- Avoid Overloading Products: Using too many products can weigh hair down and lead to buildup. Stick to a few key products for the best results.
Final Steps for Long-Lasting Curls
Once all curls are set and cooled, apply a final coat of hairspray to lock everything in place. Focus on the roots and mid-lengths for added hold. Hold the hairspray about 12 inches away from your head for an even mist. This prevents clumping and ensures a natural finish.
With the right techniques, curls can last for multiple days. On day three or beyond, touch up a few sections as needed. Use a curling wand or iron for quick touch-ups.
Consider using a texture paste to enhance volume and definition on subsequent days. Rub a small amount of texture paste between your fingers and lightly scrunch it into your curls for added definition.
And there you have it the secrets Reasons WHY Your Hair Won’t Hold A Curl. From choosing the right products to mastering your curling technique
Now, I want to hear from you! Have you tried any of these techniques? Do you have your own curl secrets to share? Drop them in the comments below.